Wednesday, March 4, 2015

Bucket List Item, Check

Early October, 2011

I had long since heard of one of the few remaining vintage salvage yards in my area, but had never been. I knew they had 3 old Wagoneers but I had no idea as to the condition. I made the trek with my dad in hopes of finding some cosmetic adjustments for my rig.

It's no secret that Jeep pinched some pennies over the years, take the fact that they never changed dies as an example. In turn, this makes for some easy swapping for enthusiasts. Here's how it went down.

When I went to the yard, I was not disappointed. Hundreds of classic American (and some imports) dotted the fields, I spent most of a day just wandering and drooling. However, it was the wagoneers I was interested in. There were 3, but one was so hacked I didn't take any parts. I nabbed the grilles off a 68 wagon, and a 73. The 68's grille was actually pretty trashed and I got it for $25, but the 73 had a very good grille, it was $50. Inside the 73 were 2 other wagon grilles, a full 75 egg crate and an 80 pig nose (both $25 each)

The 'Cheese Grater' grille. One of my faves, though not popular. 
 
The infamous 'Razor' grille. This, along with the egg crate, pig nose, and final grille, hang in my parent's barn.
 
 
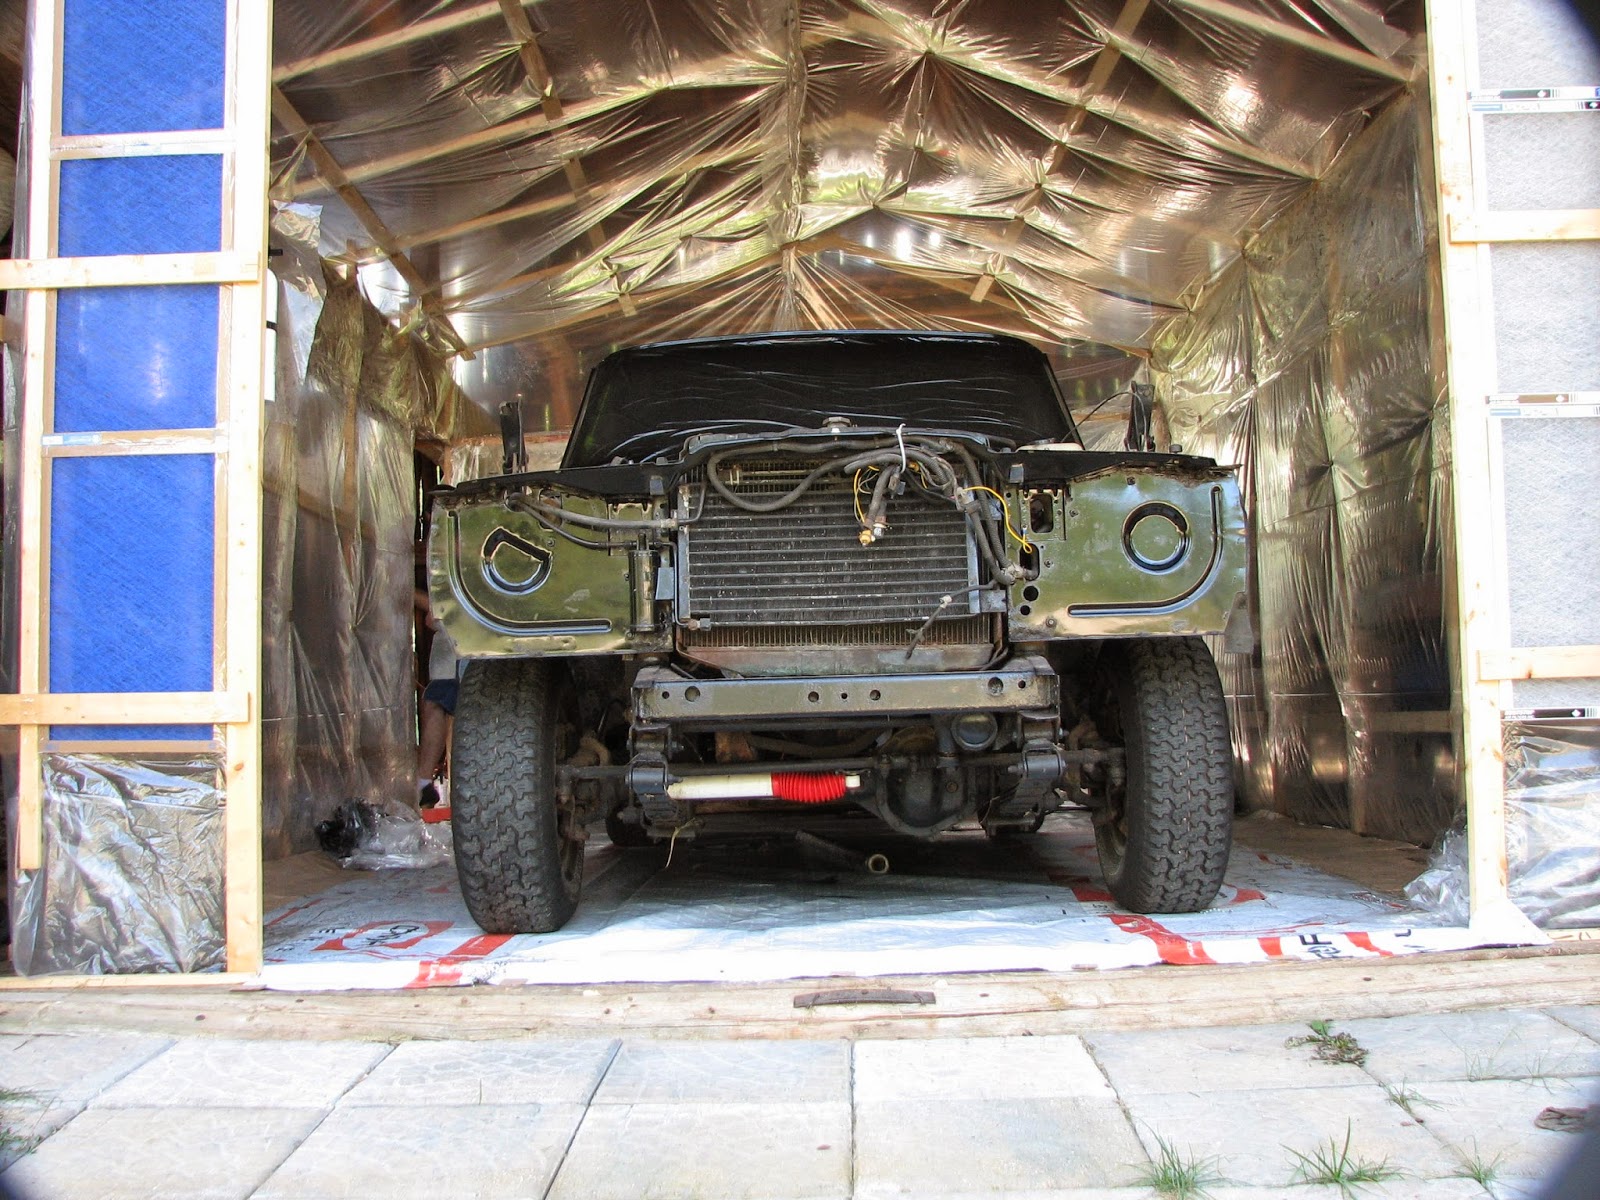
I nosed the rig into the garage and cut the zip ties that I'd installed to hold the grille on. It popped off no sweat and gave me access to the mount tabs. You must have the courage of your convictions for this next phase, as it involves cutting off the brackets and filing the headlight punch-out to fit the old lights back in.


There were 3 mounts, which I drilled out the spot welds on and treated the bare rusty steel beneath.
 
 
With the headlight removed, it took a bit of time to test fit the new/old light mount and get everything filed up. It wasn't hard, just a little repetitious; fit, file, repeat.
 
This part felt so, so good. I knew once seeing this that it just looked so right and I'd made the right choice to swap back.

The 73 grille is what I went with, as it was the most complete and in the best shape. It shared most of the same mount points but had a few extra hidden ones around the light bezels which I just used some self tappers on.

I think it looks a lot better. It suits the body style of the truck better and I think, looks a little meaner. It also doesn't stick out as far so it's easier to work on the engine.
 
I then cleaned and painted the bumper that I had made a while back. I went with satin black Tremclad so that it looked powder coated, but could be easily touched up. I think the hooks came from TSC, they were a gift from my folks. I thought they looked just right.
 

I cleaned the mossy green stuff off the grille and did a little bit of straightening, but it could use more tweaking. I have yet to (even as of 2015) paint and add the hood bar to block off the opening. I got a pretty good one off the 68 wagoneer.


Rebuild, The Fun Part

September 23-25, 2011

This was my favourite part, bar none. I think it's everyone's favourite when working on a project vehicle, the rebuild stage. It can be hair raising trying not to chip everything but man, the results are worth it. I think I'm going to let the pictures do the talking mostly here.


It was a beautiful early fall day. Nice working temps and all the trees changing.


I used stainless hardware for looks and rust prevention


I drove the rig like this for maybe 3 weeks. I painted and added the front bumper as well which you'll see later, but I had to make a change, something on the truck that had been bugging me since day 1 had to go.

Panels

September 18, 2011

With the rig curing more in the garage, I moved stage 2 into the booth for the same treatment. Fenders, hood, grille support, and doors all fit perfectly, though I admit I had to mount the grille support on the wall.


Now that I was an 'expert' on the mixing and gun settings, I was able to do this a little faster and a little better, I think I got the mixture better in this batch. 1 coat down, wait until it's almost cured, then lay the second down. In retrospect I should have probably done 3 coats on everything, but that's neither here nor there now.


Thursday, July 17, 2014

Brand New Suit

Sept 16-18, 2011

I believe this is the first time the rig had any kind of even colour since I bought it, and a week long rest had the enameled paint curing nicely. However, I was on a tight time crunch and needed the booth for the rest of the puzzle, so I

sliced through my masking and hopped in.


I fired it up and pulled it out into the sunshine, all gleaming-fresh. Lets just say, this part of the stage felt good, and I was pretty proud of myself for almost seeing a vehicle related project through (I have a history of being bad at that, as my Willys trucks will attest to).


I knew I should be making progress on the doors, hood, and fenders, but I couldn't help but toss some of the trim and lights back in for a sneak peek. It was lookin pretty fresh.


I know Bondo has a bad name to real bodymen, and in the future I will try to work on my metal skills, but I was particularly proud of the dog leg at the back door, which was non-existent before. I welded in a patch panel but had to finish it in filler, I think it sculpted pretty well.

Body Paint

Ahem -tap tap, is this thing on?-
 
So the cobwebs have been gathering here since I last posted nearly 2 years ago. I freely admit, getting married and buying a house/renovating take a lot of time, so posting on here about the old beast has been on the back burner.

However, just because I have dropped off the radar as far as posting goes, I did actually make progress with the Wagoneer and eventually finished it up. Perhaps it's time for the next installment.

Still in the window of Sept 5-8, 2011

Lets face it, reading "I sanded, checked for high points, then added a little filler" 50 times can get a little redundant, So I will dispense with the tediousity (oh yes, I made that up) and get straight to the juicier portion of the project.

I lumbered the old girl into the fresh new dust free stable I had built for it, and set about masking anything I didnt want to have painted. I masked off the door openings, the engine, the tires (er, 3 of them anyways, I seem to have missed one somehow), and the rear window. in a flash of brilliance, I simply stuck the plastic sheeting in the window and rolled it up, seemed to work just fine.


Looking back, there are a lot of things I would have done differently here. It needed more sanding in spots, and there were still small patches of rust that I kinda just painted over. I think my exuberence mixed with the acceptance that this thing had more rust than anyone would ever likely care to deal with made me decide to simply get on with it and start enjoying the vehicle.

I popped open my gallon of black tremclad and poured maybe 1.5L into a clean mixing pail and began thinning it down to a sprayable viscosity, thick enough to avoid runs but thin enough to self level. Having never done this before, I was just guessing based on my research.


After a few test sprays to get the viscosity worked out and the gun dialed in, I set to work starting with the roof and working my way down. My dad had a car battery booster running the downdraft fan system and I must say it worked very well sucking a lot of overspray out of the booth.

The whole process took maybe 15-20 minutes if I recall, and I was pleased with the results. No runs that I could find, and a nice even coat.


Are you ready for it?


One problem I did have was that since my gun had a fixed coupler, I couldn't get the gun low enough to spray the very bottom of the rocker panel. a little spray paint from a can fixed that.

I let it cure and then hit the whole truck with a second coat, covering up any spots I'd missed and giving it a much more finished look.

with the truck curing (I left it for a whole week in the booth), I set about the last of my body panel prepping. You know the drill, fill, sand, check, repeat, until I was as happy as I'll ever be with the results. More on that soon.

Thursday, September 20, 2012

Paint Stripping 101

Sept 5-8, 2011

4 days, and as many big containers of serious duty paint stripper; these are the ingredients that spell exhaustion and asphyxiation in a single breath. I seem to recall going through several packs of sandpaper in these days, course, medium, and finer. I had discovered a trick when stripping the paint off the rear door back in school, and had pillaged about 20' of tin foil from the cafeteria in the middle of the night to seal up the gel-based paint stripper. Covering the gel helps trap it against the paint, and does not let it evapourate. The beauty of this is it has lots of time to work on the paint and doesnt stop until it hits bare steel.


This step of the restoration is where I finally discovered how much Bondo work had been done in the past, which happened to be quite an astounding amount. There is no panel on the truck that does not have Bondo on it, making up for ripples, sags, dents and puckers. Luckily for me the paint stripper didnt touch the old Bondo, so I was able to salvage a lot of the labour that someone else did that was frankly, sometimes better than my own.


Peeling off a layer of tin foil and having the old paint come with it is extremely cathartic... though not as much as running the sharp blade of a steel scraper underneath the paint and wtching it peel off in a big sheet. In lots of areas the paint practically offered to leap off the truck on its own, and in some places it held with the tenacity of a petrified freestyle climber.

I'm not sure if these pictures make this part look glamourous at all, but aside from the feeling of peeling off paint, this process is quite long, labourious, tedious, and boring. I got to the point where it was, just a step in restoration, nothing to look forward to.