skip to main |
skip to sidebar
Sept 16-18, 2011
I believe this is the first time the rig had any kind of even colour since I bought it, and a week long rest had the enameled paint curing nicely. However, I was on a tight time crunch and needed the booth for the rest of the puzzle, so I
sliced through my masking and hopped in.
I fired it up and pulled it out into the sunshine, all gleaming-fresh. Lets just say, this part of the stage felt good, and I was pretty proud of myself for almost seeing a vehicle related project through (I have a history of being bad at that, as my Willys trucks will attest to).
I knew I should be making progress on the doors, hood, and fenders, but I couldn't help but toss some of the trim and lights back in for a sneak peek. It was lookin pretty fresh.
I know Bondo has a bad name to real bodymen, and in the future I will try to work on my metal skills, but I was particularly proud of the dog leg at the back door, which was non-existent before. I welded in a patch panel but had to finish it in filler, I think it sculpted pretty well.
Ahem -tap tap, is this thing on?-
So the cobwebs have been gathering here since I last posted nearly 2 years ago. I freely admit, getting married and buying a house/renovating take a lot of time, so posting on here about the old beast has been on the back burner.
However, just because I have dropped off the radar as far as posting goes, I did actually make progress with the Wagoneer and eventually finished it up. Perhaps it's time for the next installment.
Still in the window of Sept 5-8, 2011
Lets face it, reading "I sanded, checked for high points, then added a little filler" 50 times can get a little redundant, So I will dispense with the tediousity (oh yes, I made that up) and get straight to the juicier portion of the project.
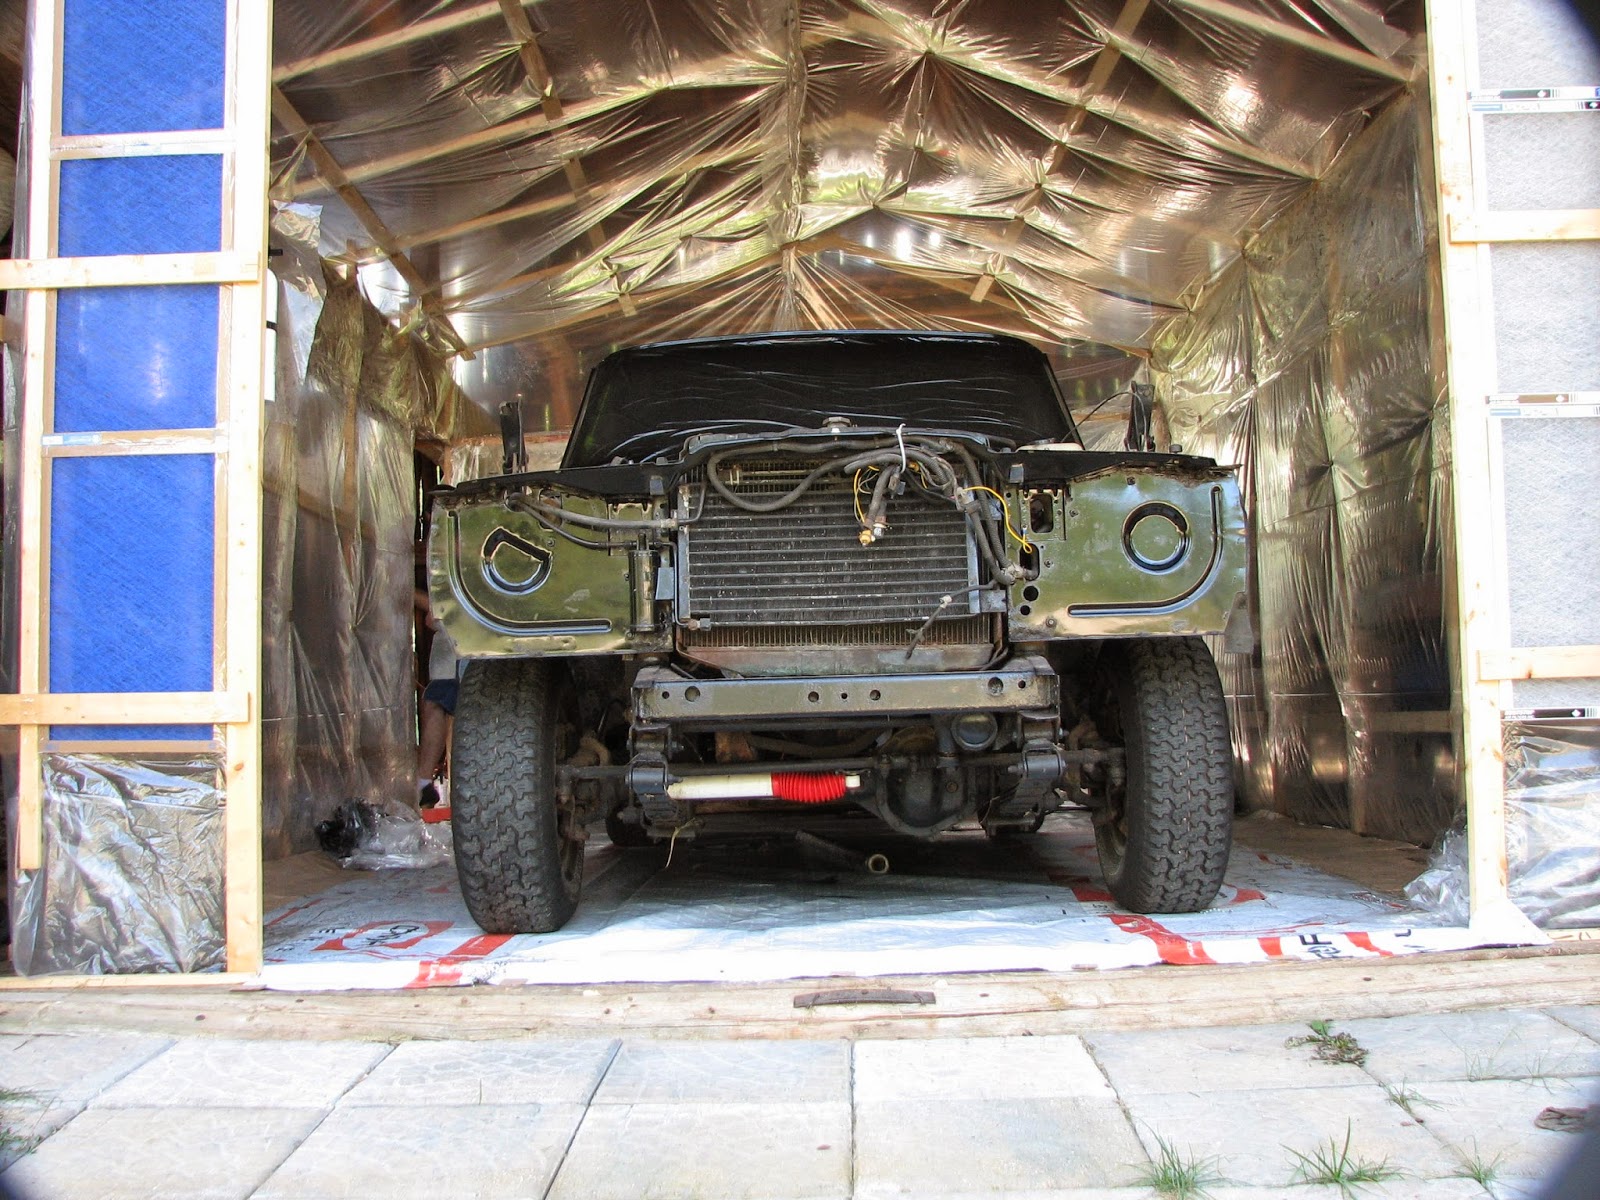
I lumbered the old girl into the fresh new dust free stable I had built for it, and set about masking anything I didnt want to have painted. I masked off the door openings, the engine, the tires (er, 3 of them anyways, I seem to have missed one somehow), and the rear window. in a flash of brilliance, I simply stuck the plastic sheeting in the window and rolled it up, seemed to work just fine.
Looking back, there are a lot of things I would have done differently here. It needed more sanding in spots, and there were still small patches of rust that I kinda just painted over. I think my exuberence mixed with the acceptance that this thing had more rust than anyone would ever likely care to deal with made me decide to simply get on with it and start enjoying the vehicle.
I popped open my gallon of black tremclad and poured maybe 1.5L into a clean mixing pail and began thinning it down to a sprayable viscosity, thick enough to avoid runs but thin enough to self level. Having never done this before, I was just guessing based on my research.
After a few test sprays to get the viscosity worked out and the gun dialed in, I set to work starting with the roof and working my way down. My dad had a car battery booster running the downdraft fan system and I must say it worked very well sucking a lot of overspray out of the booth.
The whole process took maybe 15-20 minutes if I recall, and I was pleased with the results. No runs that I could find, and a nice even coat.
Are you ready for it?
One problem I did have was that since my gun had a fixed coupler, I couldn't get the gun low enough to spray the very bottom of the rocker panel. a little spray paint from a can fixed that.
I let it cure and then hit the whole truck with a second coat, covering up any spots I'd missed and giving it a much more finished look.
with the truck curing (I left it for a whole week in the booth), I set about the last of my body panel prepping. You know the drill, fill, sand, check, repeat, until I was as happy as I'll ever be with the results. More on that soon.